Halloween Twilight “ The Cat ” Wall Hanging
FREE CROCHET PATTERN
9/7/2022

Halloween Twilight
“ The Cat ”
Wall Hanging
This pattern is part of the Halloween Twilight Collection, a set of three Mini wall hangings: The Cat, The Bat, and The Haunted House.
Every week of September I will be posting a new pattern here on the blog, so you are ready for the most important event of October 👻
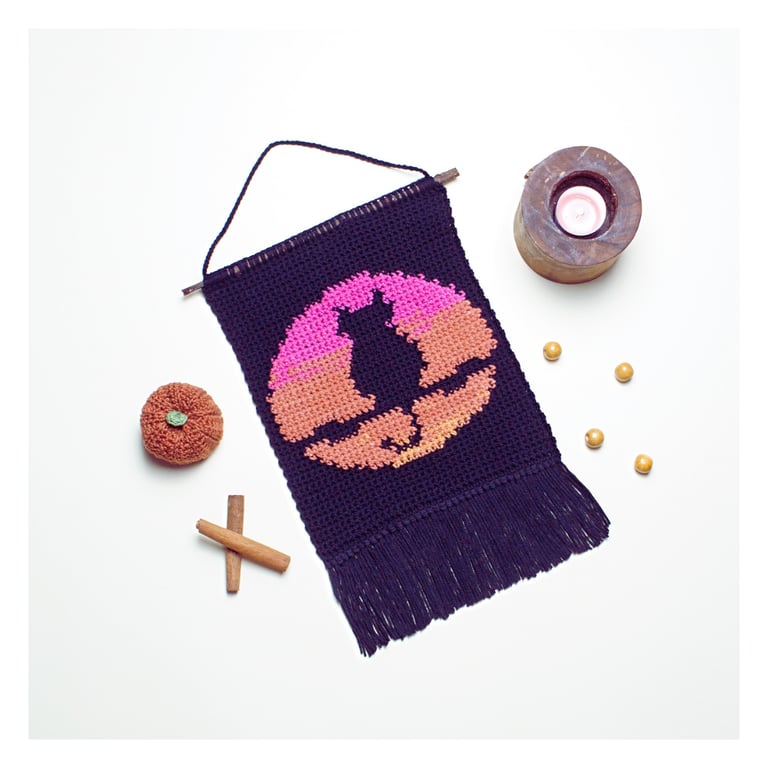
This Halloween theme wall hanging is the perfect addition to any living space in the most fun, festive season of the year.
Inspiration:
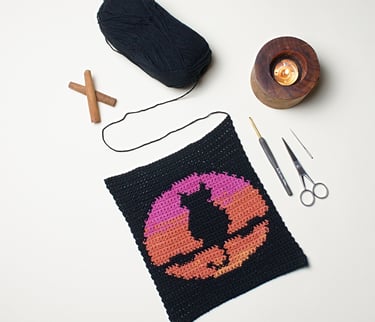
I've been thinking of a new idea for Halloween decorations, I started by drawing a single large piece that contains almost all of the Halloween elements. Actually, I liked it very much, but I found that this design would be difficult for beginners and those who want to complete a quick project that fits with a one-night celebration, so I decided to create mini wall hangings instead of a large default one. And Voila!
Each panel consists of only two colors so you do not need to buy new yarn, you can use some of your scraps, to complete this project. Each wall hanging will not take you more than two hours to complete, so - I think- this is the fastest and most beautiful Halloween project you can do.
I used a gradient yarn in twilight colors to give a distinctive colorway. Also, you can use some scraps from three different colors such as yellow, dark orange, and fuchsia, to get the same result.
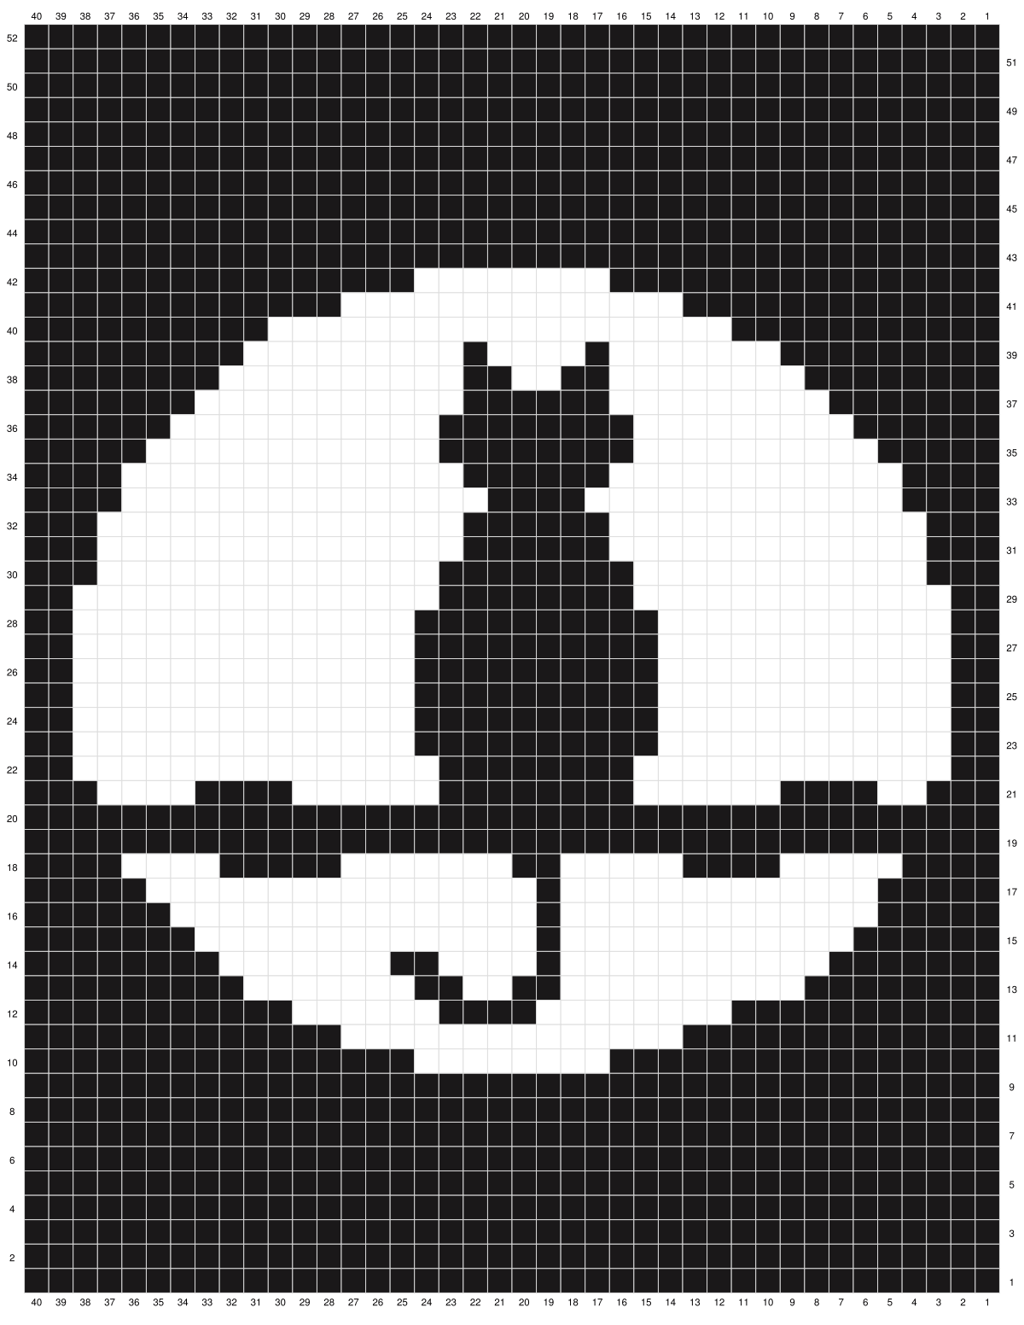
The pattern comes in easy-to-follow written instructions and graph / chart. In addition to step-by-step photos for finishing your wall hanging in a perfect look.
You can read more about this set here...

Row 1 (A) Sc into 2nd Ch from hook. Sc in each Ch across to the end. Ch 1. Turn. (40 Sc).
Rows 2 to 9 (A) 40, Ch 1. Turn.
Row 10 (A) 16, (B) 8, (A) 16. Ch 1. Turn.
Row 11 (A) 13, (B) 14, (A) 13. Ch 1. Turn.
Row 12 (A) 11, (B) 6, (A) 4, (B) 8, (A) 11. Ch 1. Turn.
Row 13 (A) 8, (B) 10, (A) 2, (B) 2, (A) 2, (B) 7, (A) 9 . Ch 1. Turn.
Row 14 (A) 8 , (B) 7 , (A) 2 , (B) 4 , (A) 1 , (B) 11 , (A) 7 . Ch 1. Turn.
Row 15 (A) 6, (B) 12, (A) 1, (B) 14, (A) 7. Ch 1. Turn.
Row 16 (A) 6, (B) 15, (A) 1, (B) 13, (A) 5. Ch 1. Turn.
Row 17 (A) 5, (B) 13, (A) 1, (B) 16, (A) 5. Ch 1. Turn.
Row 18 (A) 4, (B) 4, (A) 5, (B) 7, (A) 2, (B) 5, (A) 4, (B) 5, (A) 4. Ch 1. Turn.
Rows 19 & 20 (A) 40. Ch 1. Turn.
Row 21 (A) 3, (B) 2, (A) 4, (B) 6, (A) 8, (B) 6, (A) 4, (B) 4, (A) 3.Ch 1. Turn.
Row 22 (A) 2, (B) 15, (A) 8, (B) 13, (A) 2. Ch 1. Turn.
Row 23 (A) 2, (B) 12, (A) 10, (B) 14, (A) 2. Ch 1. Turn.
Row 24 (A) 2, (B) 14, (A) 10, (B) 12, (A) 2. Ch 1. Turn.
Row 25 (A) 2, (B) 12, (A) 10, (B) 14, (A) 2. Ch 1. Turn.
Row 26 (A) 2, (B) 14, (A) 10, (B) 12, (A) 2. Ch 1. Turn.
Row 27 (A) 2, (B) 12, (A) 10, (B) 14, (A) 2. Ch 1. Turn.
Row 28 (A) 2, (B) 14, (A) 10, (B) 12, (A) 2. Ch 1. Turn.
Row 29 (A) 2, (B) 13, (A) 8, (B) 15, (A) 2. Ch 1. Turn.
Row 30 (A) 3, (B) 14, (A) 8, (B) 12, (A) 3. Ch 1. Turn.
Row 31 (A) 3, (B) 13, (A) 6, (B) 15, (A) 3. Ch 1. Turn.
Row 32 (A) 3, (B) 15, (A) 6, (B) 13, (A) 3. Ch 1. Turn.
Row 33 (A) 4, (B) 13, (A) 4, (B) 15, (A) 4. Ch 1. Turn.
Row 34 (A) 4, (B) 14, (A) 6, (B) 12, (A) 4. Ch 1. Turn.
Row 35 (A) 5, (B) 8, (A) 8, (B) 12, (A) 5. Ch 1. Turn.
Row 36 (A) 6, (B) 11, (A) 8, (B) 9, (A) 6. Ch 1. Turn.
Row 37 (A) 7, (B) 9, (A) 6, (B) 11, (A) 7. Ch 1. Turn.
Row 38 (A) 8, (B) 10, (A) 2, (B) 2, (A) 2, (B) 8, (A) 8. Ch 1. Turn.
Row 39 (A) 9, (B) 7, (A) 1, (B) 4, (A) 1, (B) 9, (A) 9. Ch 1. Turn.
Row 40 (A) 10, (B) 19, (A) 11. Ch 1. Turn.
Row 41 (A) 13, (B) 14, (A) 13. Ch 1. Turn.
Row 42 (A) 16, (B) 8, (A) 16. Ch 1. Turn.
Rows 43 to 52 (A) 40. Ch 1. Turn.
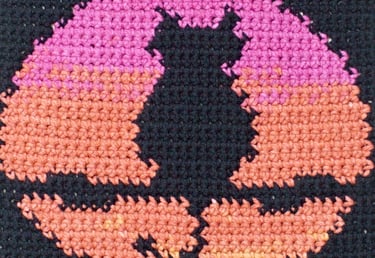
Front Side
Back Side
And You Are DONE! Happy Crochet!
Please keep in touch and let me know if you have any questions, concerns, or anything else you may think of!
Happy Crocheting,
Esraa
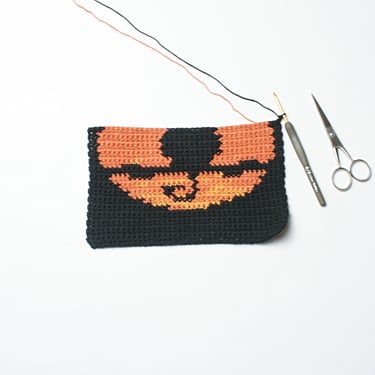
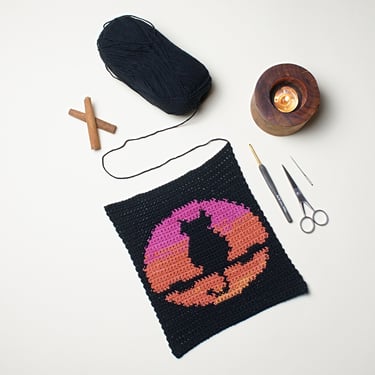

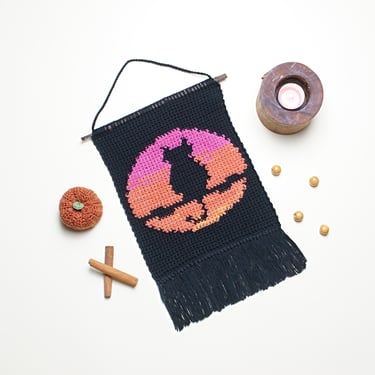
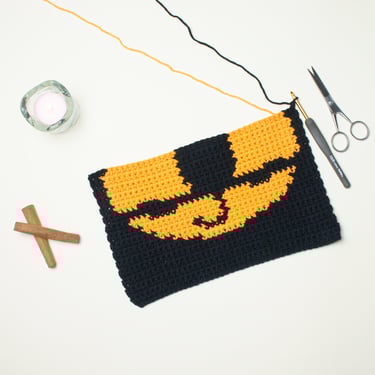
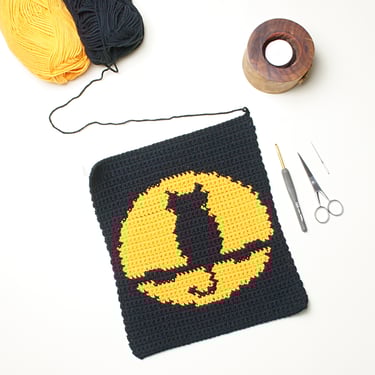
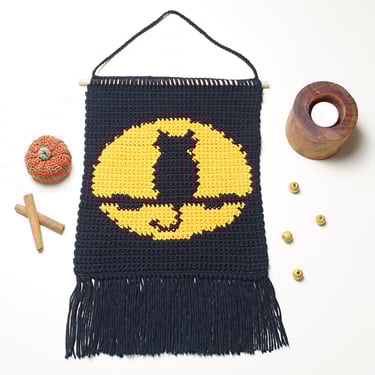
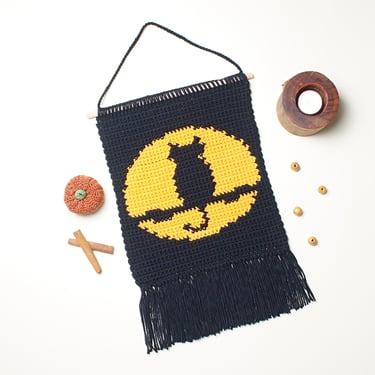
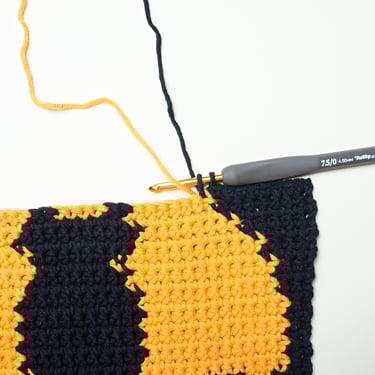

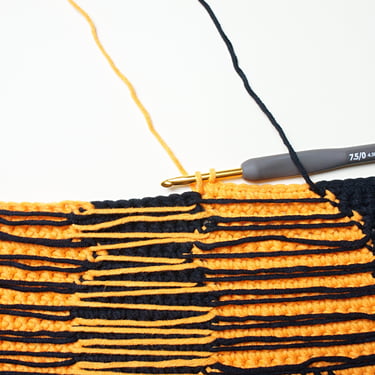
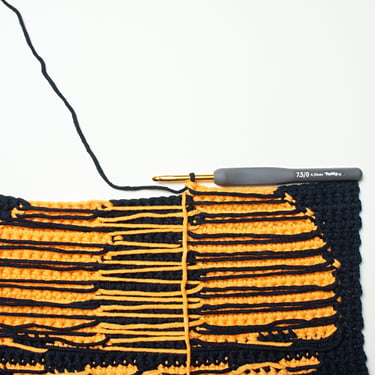
Photo Gallery
Skills Level: Intermediate
Materials:
Yarn: Sport / Fine / #2 yarn. ( Here I use Alize Cotton Gold & Alize Cotton Gold Batik)
Estimated Yardage = 144 YD.
- Black = 108 YD. (Alize Cotton Gold, Color Code: 60)
- Contrast Color = 36 YD. (Alize Cotton Gold, Color Code: (7107)
>> Other Yarn suggestions:
- Style Craft Special DK
- Brava WorstedHooks: - 3.5 mm Crochet Hook.
Notions:
- Dowel rod or Tree Branch.
- Darning Needle.
- Stitch Marker.
- Scissors.Panel Measurements: 8.5” x 10”/ 21 x 25 cm (not including fringe or hanging thread).
Gauge: 19 sts x 21 rows = 4”x4”/10x10 cm in SC.
Color Abbreviations:
· (A) = Black
· (B) = Twilight colorsStitch Key:
· Ch = chain
· st/sts = stitch(es)
· Sc = Single crochetPattern Notes:
The Pattern is written in US terms.
The Wall Hanging is worked in rows.
The Wall Hanging is worked from the bottom up.
The first stitch of each row should be placed into the same stitch as the turning chain.
The turning chain does not count as first stitch of the row.
The odd rows are the right rows/side, and the even rows will be on the wrong rows/side.
The pattern is written as a color abbreviation, for example: (A) 10 means 10 single crochets in the color Black.
The Wall Hanging is worked in "Single Crochet Stitch".
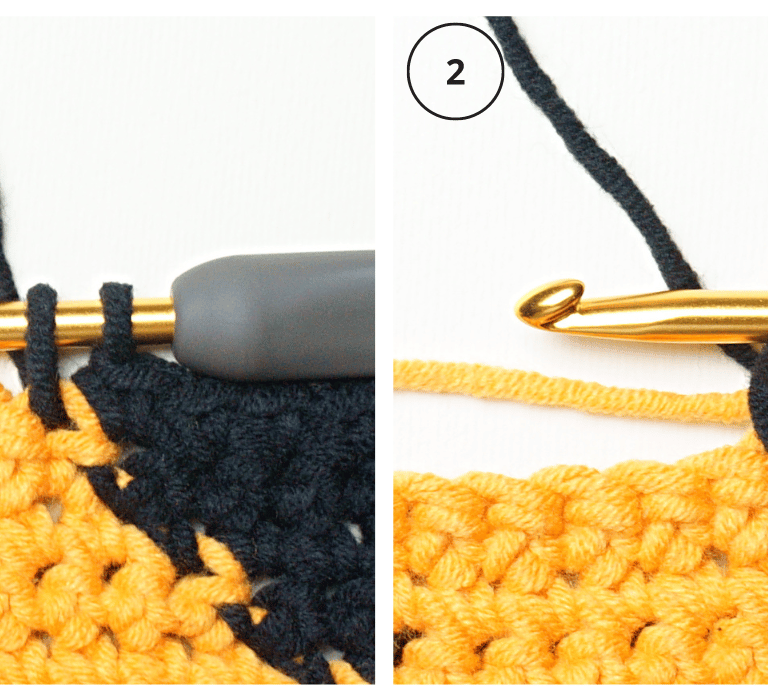
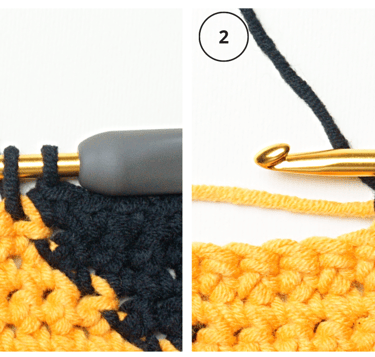
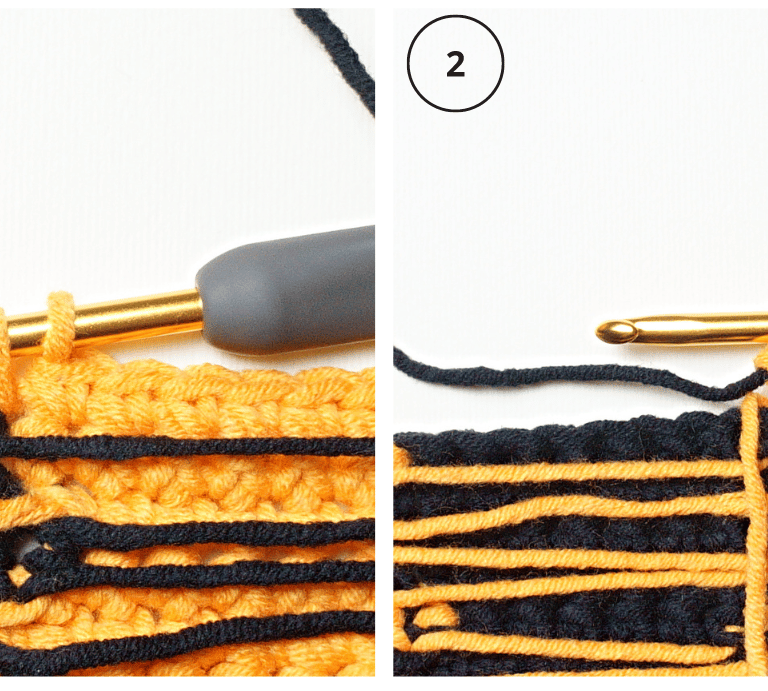
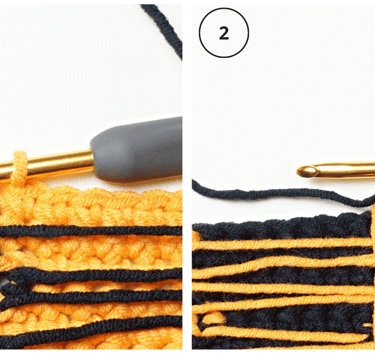
The color change is made with the final yarn over and pull-through of the last stitch before the color change. For Example: with color A, insert hook in stitch, yarn over, pull up a loop with color B, yarn over and draw through both loops on hook, continue with color B stitches. (Explanation pictures below include color changing on the front and back sides)
The gauge in the pattern is indicative and not mandatory. Any yarn can be used for this pattern. Of course, the size will vary depending on the yarn used, hook size, and tension.
The wall Hanging is worked up using the Fair Isle crochet method, but you can use Intarsia Crochet if you want.
For Fair Isle, the non-working yarn creates floats behind the work.
For Intarsia, you will not carry the non-working yarn. Let the yarn hang from the last stitch. You will have a bobbin or ball of yarn attached to each color block section of your project.
>> This video by E'Claire Makery shows how to work Intarsia & Fair Isle crochet:
https://www.youtube.com/watch?v=EytdrCmAPuQ
Pattern Details
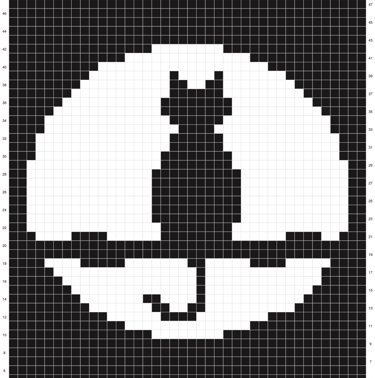
Chart
Pattern

Blocking
You can Block your Wall Hanging with Steam and let it dry until completely dry.
You can also wash it with lukewarm water, get rid of the water by gently squeezing it, leave it on a clean towel placed on a flat surface and leave it until it dries completely.
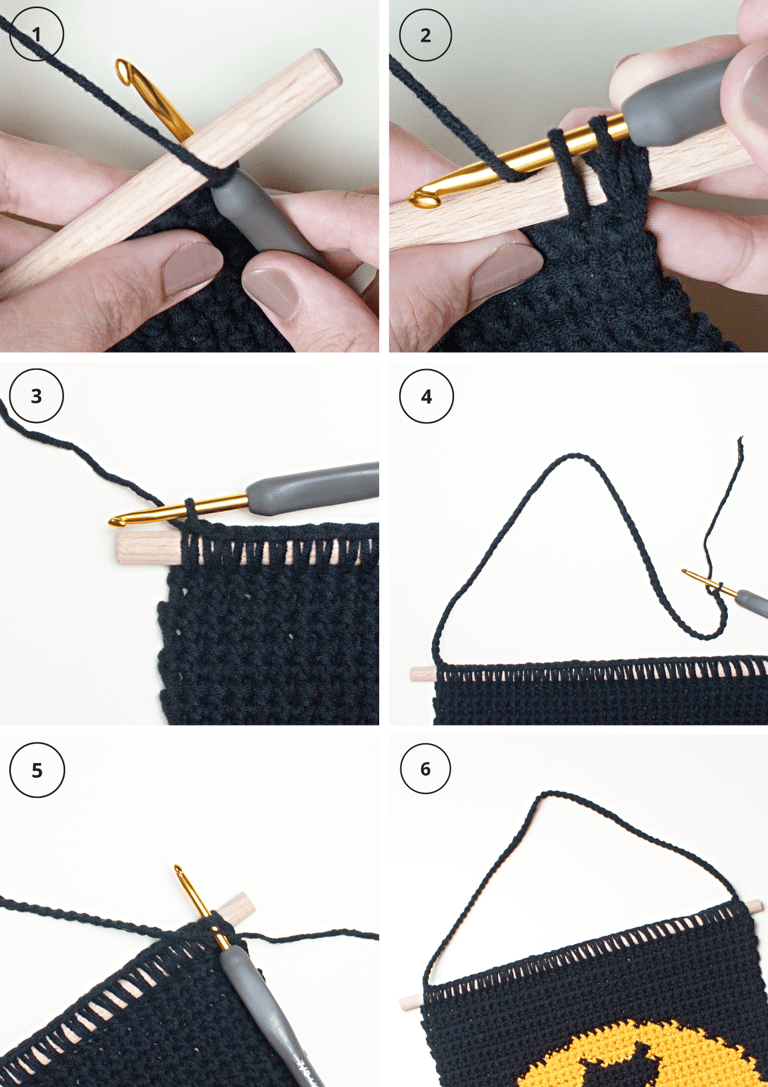
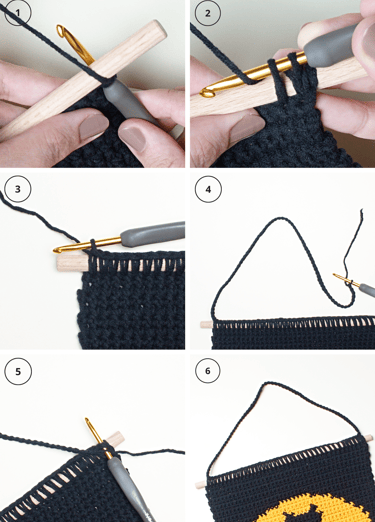
Attaching the wooden dowel/tree branch
With main color (A) in the first stitch on RS, work SC around the branch/dowel:
1- Insert the hook into the first stitch and under the wood dowel, grab the yarn in the other hand.
2- Yarn Over, then pull through the loop and repeat till you reach the last stitch.
3- Now, chain about 50-60 chains to make the hanging Strap.
4- Attach the last chain to the first chain on the dowel with a Slip Stitch.
5- Fasten Off and Weave ends.
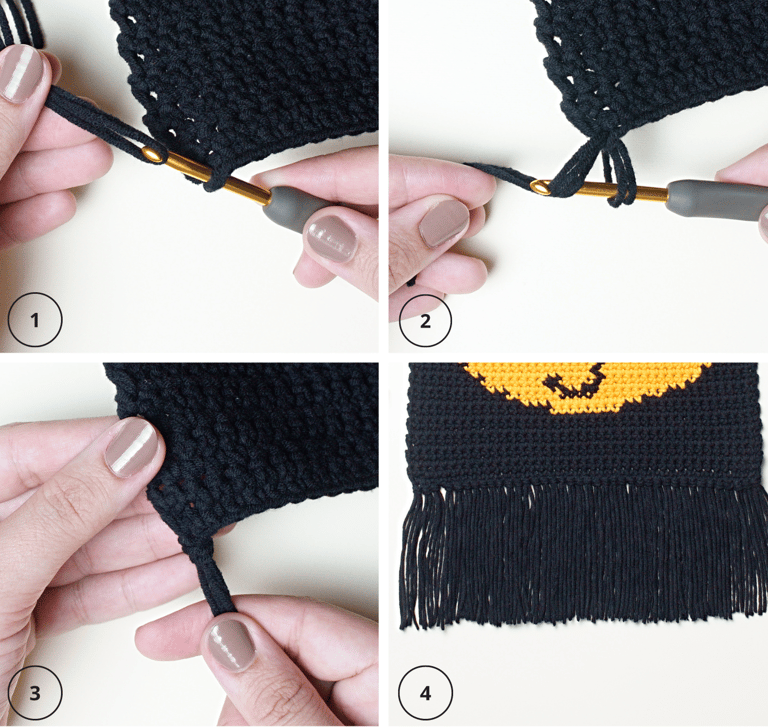
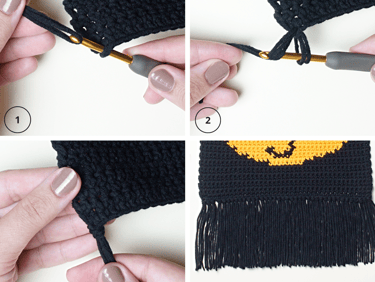
Attaching the Fringes
1- To Create the Fringe cut 8”/20 cm pieces of yarn, you will need 2 strands to complete one Fringe.
2- To attach the Fringe, grab 2 strands of yarn, use your crochet hook, and punch the hook through the foundation chain on the bottom of the piece, fold the 2 strands in half and loop the middle of the strands onto the crochet hook and pull the loop of strands through the foundation chain.
3- Repeat for every other foundation chain.
4- Trim the ends. You can use a wooden comb to straighten the fringe before trimming them.